LET'S SEWING.....
1.
2.

3.

4.

5.

6.

7.

8.

9.

10. BAG CUT

STEP BY STEP TEMPLATE BAG / BAG
Cut two rectangles of fabric with the height and width you want for the sides of the bag.
Draw the side of the bag.
Draw the rectangle to the fronts and backs of the bag.
Draw the bag handles. STEP BY STEP SEWING BAG / BAG Sew and turn the handles / Bag handles. Backstitch handles / Bag handles. Sew the ribbons in the rectangular bag. Nail type cross the handles / straps on the bag. Sew the zipper / zipper. Sew the tops on the sides of the bag. Sew lining the same way and leave an opening in the bottom of the bag. Make the right turn mirror the bag with the right lining and sew all around. Turn the bag by opening the liner. Close the bottom of the liner. Purse / bag with measures to build the mold. To confecionar this model needs to 1.20 cm of tissue. The liner may be cut with the same mold. Use a full-bodied fabric such as twill or coarse linen. If you use thin fabric should paste screen one or more times to make a more robust texture.
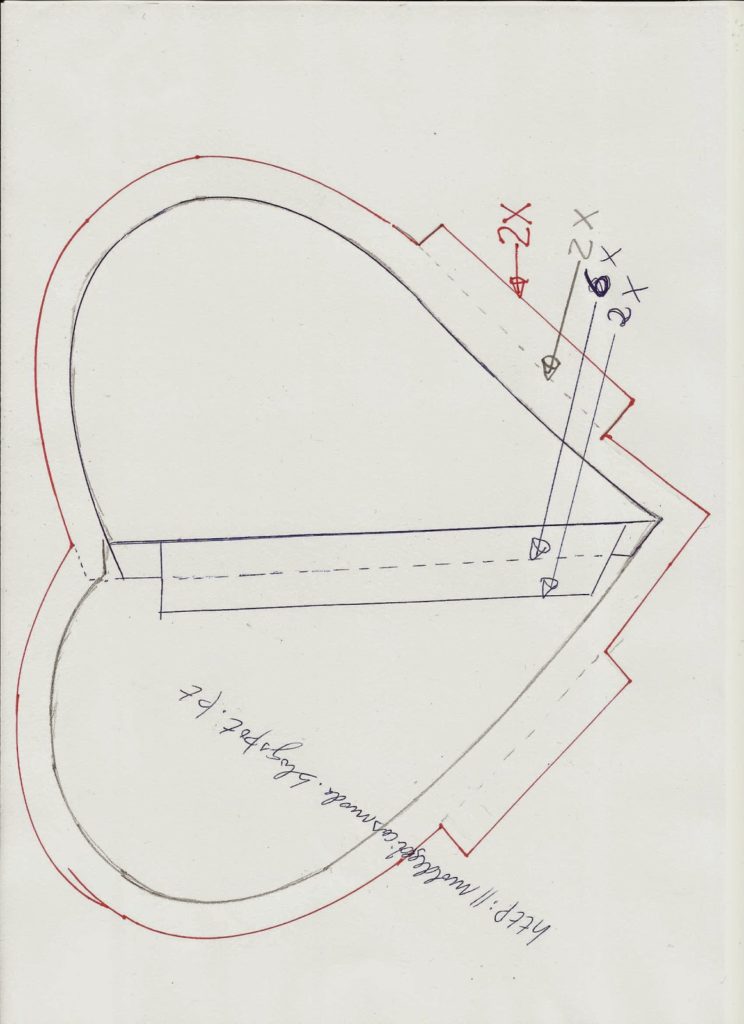
10. CAST SEWING KIT


Line the cardboard or other with tissue and turn into about 1 cm in the outer mold and let fittings that will join the four hearts. Inside mold start to put elastic bands or fabric and adjust the rings as the use you want to give the case (sewing or makeup). After placing the Line tapes turning into 1cm. Add the two hearts and four shares that make up the two hearts of the side. Overlap the heart inside to the outside joining the fittings. Place the ring to put the button to close the case. Good stitching.
11.

12.

13.

14.

15.

16.

17.

18.

19.

20.

21.

No comments:
Post a Comment